Preparing For Bathroom Renovation
How to Remodel Your Bathroom From Start to Finish
16
A bathroom makeover is an easy way to spruce up your home. But before you start taking measurements for an open shower, you should take the time to plan out your bathroom renovation step-by-step so you know exactly what you're getting into. According to Angie's List, the average total cost of a bathroom remodel is between $10,000 – $15,000, with labor costs taking up at least 20% of the budget. By going the do-it-yourself remodeling route, you can expect to save as much as a few thousand dollars. Curious about how to remodel a bathroom yourself? Take a look at our step-by-step guide to figure out the best way to tackle your bathroom remodel. Before you do any bathroom remodeling yourself, you should settle on a new design that fits your vision, as well as your skill set. There are so many different ways to approach a bathroom makeover, ranging from swapping out the vanity to gutting the space and starting over from scratch. Here are a few design elements you absolutely need to nail down before you start your bathroom renovation: Of course, you may need a few things outside of your essential homeowner tool collection, but the exact tools required will vary based on your renovation plans. But these are a few essential tools to have on hand for any bathroom renovation. If you don't have either of these tools, they are available to rent at most home improvement stores for a minimal cost. Assuming you're partially or totally renovating your bathroom, this is where you'll start removing drywall and any fixtures you're replacing. Remodeling a bathroom yourself isn't all that hard, but there are a few steps you should follow to avoid any costly mistakes during the demolition phase. Bathroom Remodeling Tip: Renting a dumpster for your demolition debris will allow you to dispose of everything at once without having to drive to the local dump, cutting hours off your project time. After you've gutted your bathroom, its time to start installing your new fixtures. For a shower or tub replacement, you'll want to pick a pan or basin that fits your new decor, as well as the space where your current tub sits. In terms of shapes, you generally have three choices: The base shape you choose will determine your layout, so make sure you take into account the other features of your bathroom beforehand, including the location of the door. You could also consider installing a combination shower and bath tub if you have the space. If there are any signs of rotting wood or water damage to your subfloor, you should replace it before installing your new shower to prevent further damage. Bathroom Remodeling Tip: A walk-in shower conversion is a stylish, space-saving update to make in any home. If you're converting your bathtub to a shower during your bathroom makeover, check out this guide to a DIY walk-in shower conversion. With the shower out of the way, you can now configure electrical fixtures and install your new lighting. If their dimensions are bigger or smaller than your current ones, you'll need to renovate your bathroom a little further by adjusting the wiring. For the most part, that means moving the GFCIs (Ground Fault Circuit Interrupters) and other power outlets so that they line up with your new vanity and cabinets. After all, you don't want to have to reach down next to the toilet in order to plug in your hair dryer. You should call in an electrician for this step, especially if you have never worked with home wiring before. A DIY bathroom makeover is not complete without new floor tiles. But before you start grinding away with the grouting, use a mason's chalk line to mark reference lines perpendicular (at a 90-degree angle) to the wall with the longest continuous line. This will allow you to keep your tiles in a straight line, avoiding the dreaded crooked tiling job. Now your bathroom makeover is starting to take shape. The next step is to hang your new drywall. This can be a long process as you have to cut new drywall to fit around your vanity and any other features. But once you start nailing up the boards you should be able to move briskly. After you've put your walls back together, you can start adding some color to your bathroom. Painting is one of the easiest and most cost-effective ways to freshen things up and give the bathroom a whole new look. It's best to use paint with a semi-gloss finish that is resistant to mold and mildew. Bathroom Remodeling Tip: While you're working on your walls, it's the perfect time to start re-tiling your shower and tub area if you plan to do so. Here are a few handy tips to follow when tiling your bathroom shower. After you've taken care of the walls and finished installing any new lights, it's time to install the vanity, cabinets and anything else that's on your bathroom remodel punch list. The first thing you want to install is the vanity, including the sink and faucet. Once you have the drain hooked up to the faucet, you can move on to the other essentials such as the mirror, cabinets and the trim around the shower or tub. At this point in the process, your bathroom actually resembles a bathroom, except for one thing: the toilet. You could install or re-install your toilet earlier in the process but leaving it for last helps avoid chipping it while working on other areas of the bathroom. If you aren't quite sure how to install a toilet, Lowe's has a great guide you can follow. The last finishing touch is to install the trim around the room and mirrors. The trim is the capstone for every bathroom remodel as it provides the last bit of detail your bathroom needs to feel complete. But of course, the real last step in any bathroom makeover is to draw a nice hot bath for yourself after all your hard work. You deserve it. Feeling inspired and ready to tackle other remodeling jobs in your home? Check out our DIY home improvement guide for tips, ideas and repairs for every room.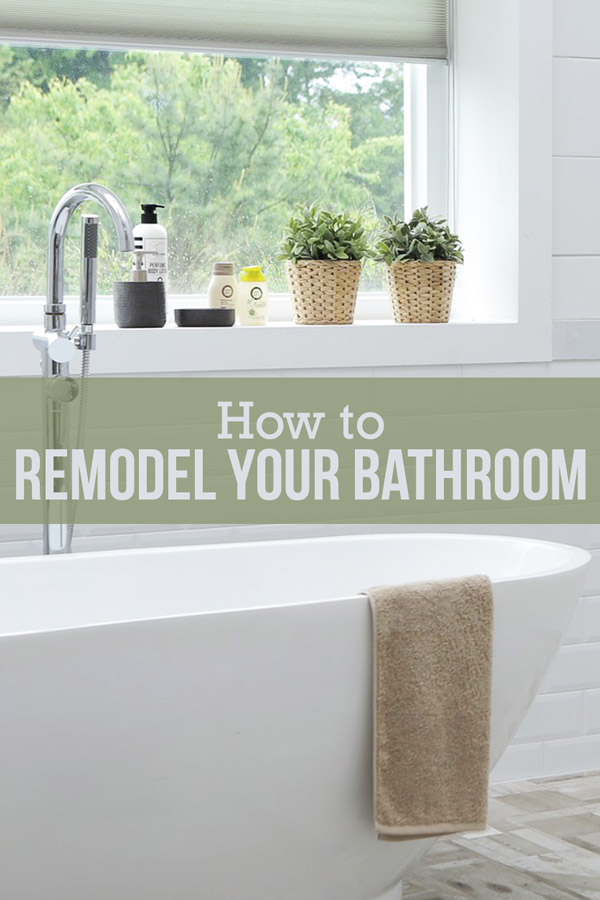
How Much Does a Bathroom Remodel Cost?
Prep for Your DIY Bathroom Remodel
Establish Your Bathroom Makeover Design

Gather Your Remodeling Tools and Supplies
Essential Tools and Supplies for a DIY Bathroom Remodel:
A Few Optional Tools We Recommend:

Steps to Remodel a Bathroom
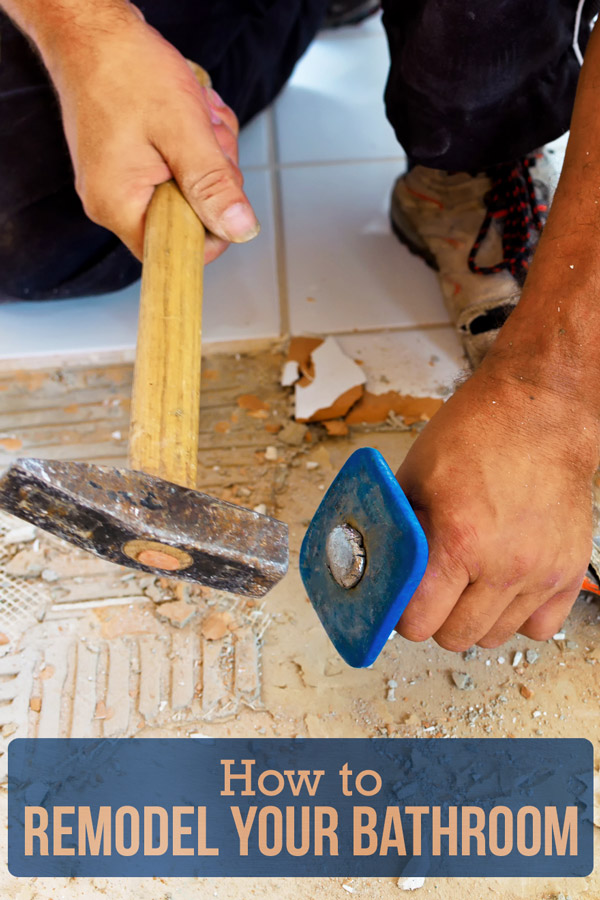
1. Remove or Demolish Bathroom Fixtures
Tips for Gutting a Bathroom:
2. Install Your New Shower or Tub Basin
Shower Remodeling Design Choices
3. Install New Fixtures and Features
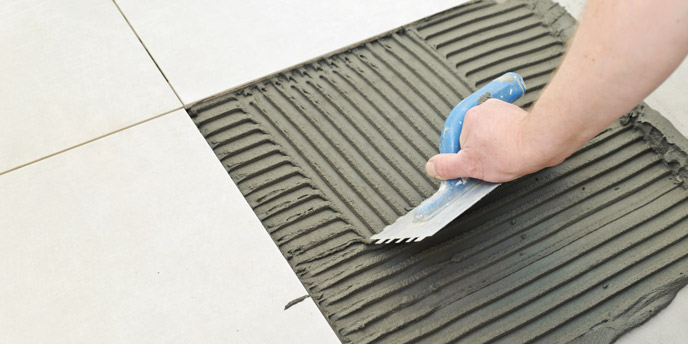
4. Lay Down Your New Floor Tiles
5. Hang New Drywall and Start Painting
Important do-it-yourself bathroom remodeling tips to keep in mind during this step:

6. Install Your New Vanity and Cabinets
7. Finish Hooking Up the Plumbing

Add the Finishing Touches to Wrap Up Your DIY Bathroom Remodel
Preparing For Bathroom Renovation
Source: https://www.budgetdumpster.com/blog/remodel-bathroom-start-finish/


0 Komentar